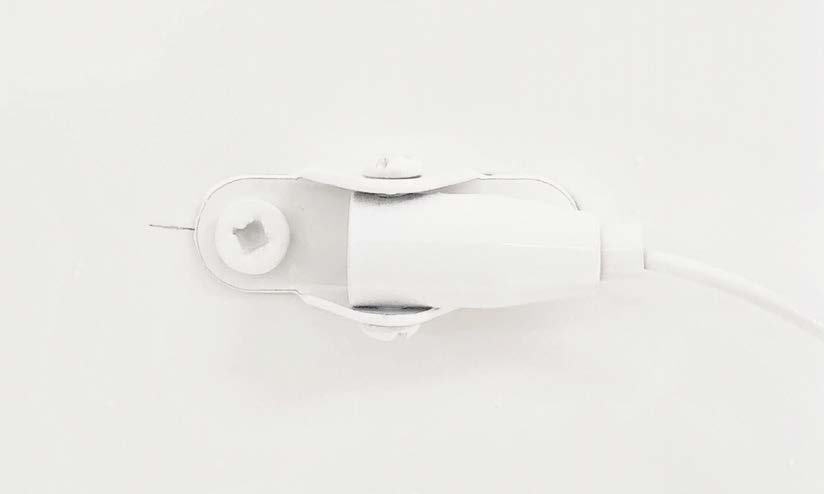
Spa Etagere Assembly Instructions
ATTENTION: A wall anchor kit has been included with your custom furniture item. We recommend using this device to prevent inadvertent tipping. Detailed instructions for installation of the wall anchors are included in the attached package (supplied by the manufacturer). For your convenience we have also included bolts that you may use to bolt the metal bracket to your wooden shelf, should you choose. Use and installation of this device is at your own risk. Charleston Forge makes no guarantee and shall not be liable for use or misuse of this wall anchor kit. All installations will vary; consult a general contractor or the manufacturer of the anchor kit if you are uncertain this is the right solution for you.
Etagere must be securely attached to wall. This etagere is supplied with four adjustable leveler feet and two anti-tip cables attached to the top of the back legs.
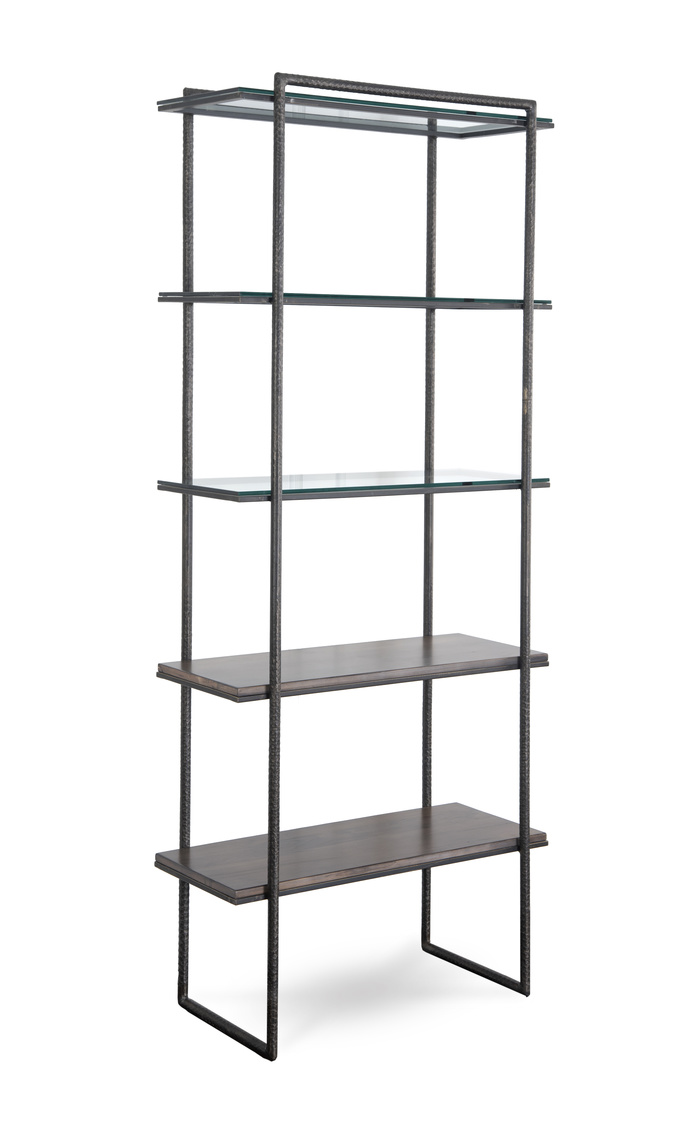
- Use the tip-over restraint provided and the correct hardware (not supplied) for your wall type.
- The hardware used to secure your furniture to the wall depends on your wall material.
- Consult with a local hardware retailer regarding proper anchor type.
- Never put a television or other heavy objects that may tip over on Hatteras Etagere.
- Place heavy objects on the lowest shelves.
- Never let children climb or hang on shelves.
STEP ONE
Place furniture into location, adjust leveler feet, and mark installation holes on wall. Note: Steel cable is adjustable and can be trimmed once installation is complete.
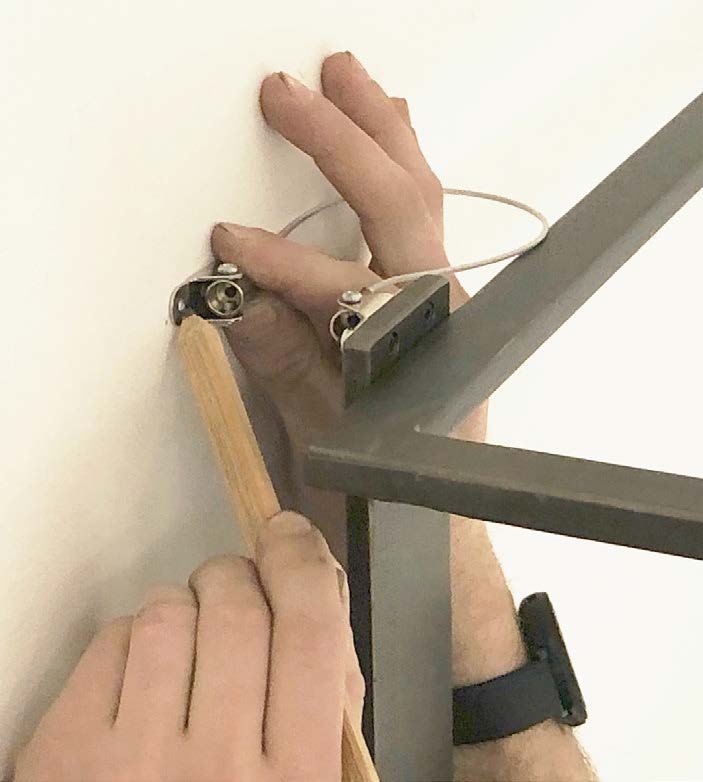
STEP TWO
Install anti-tip kit onto wall using appropriate hardware. Furniture can be pulled away from the wall to gain access. Please consult a local hardware retailer regarding proper anchor type.
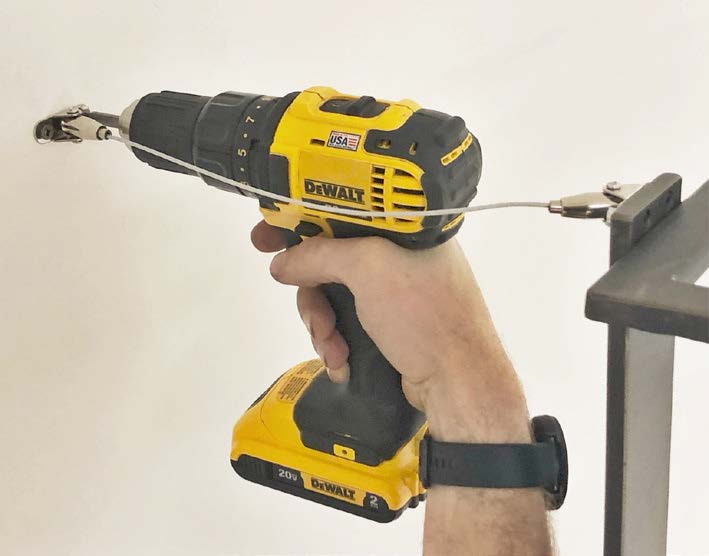
STEP THREE
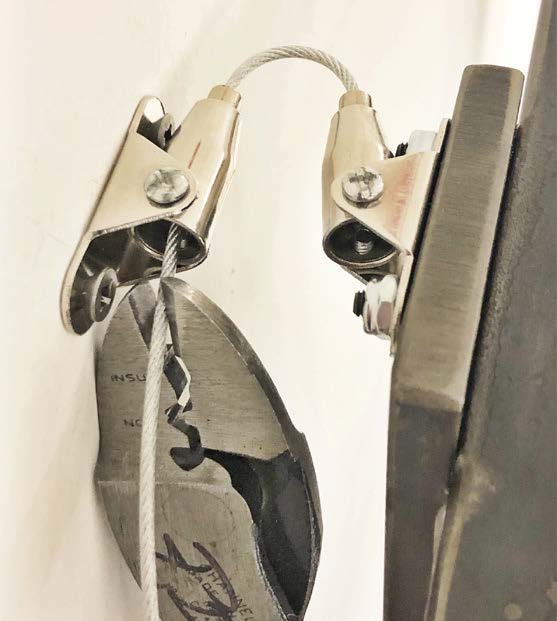
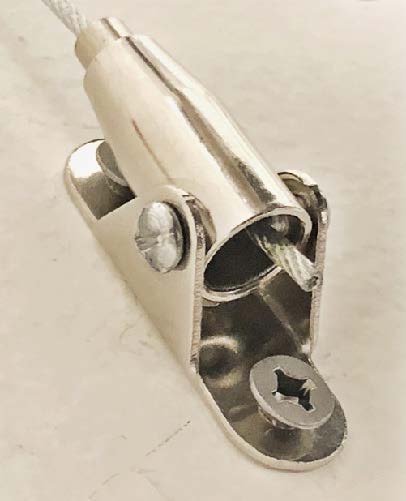
Place furniture into final position, push steel cable slack through wall mounted bracket, and trim desired excess cable. Be sure to leave enough slack to adjust furniture according to your needs. Leave 1/8” of the steel cable exposed on the backside of the bracket.
STEP FOUR
Pull on steel cable to ensure it is securely installed. Note: Anti-tip kit can be painted to match wall paint.
